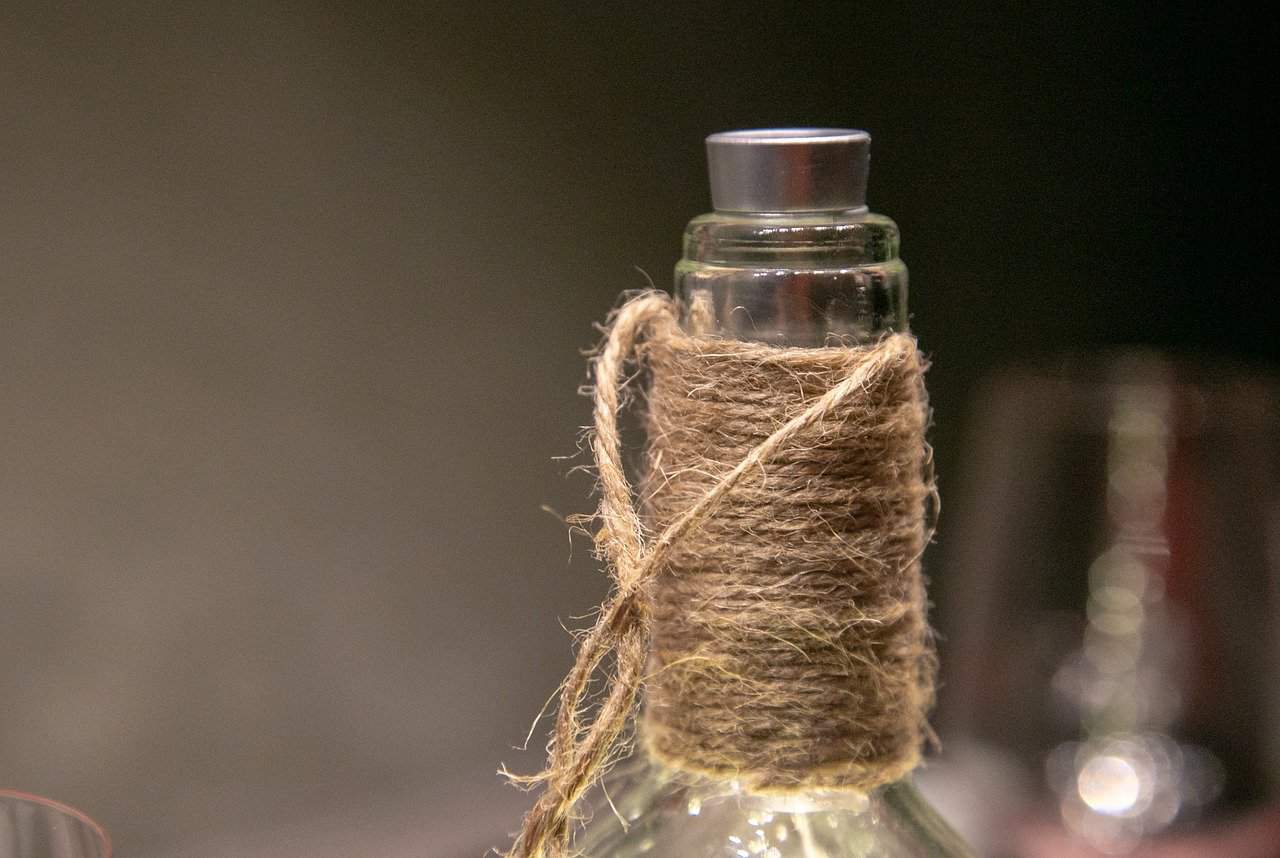
If you care about recycling and nature is important to you, you will certainly be interested in pendant lamps made from bottles. They look awesome and are very eco-friendly!
Creating your own pendant lamp from bottles is an extremely impressive and original interior design solution. We can create it at a really low cost. Since we have purchased and drank a variety of liquors, we will no longer need bottles. Instead of throwing them away, we can create something unique out of them. Although we could make standing lamps with lampshades out of them, it will be much more interesting to make a beautiful chandelier out of them
Currently, interior design trends are based on recycling. By giving a second life to used objects we protect our planet. To make a lamp from bottles, we can use wine, whiskey, beer and other alcohol bottles
To make a lamp from whisky bottles you will need bottles with the bottom cut off so you can screw in a light bulb. It gives an amazing effect. All this is due to the interesting and unusual shape of whisky bottles. Moreover, if we want to increase the atmosphere, we can leave the label of an expensive and tasteful liquor on the bottle. To illuminate e.g. a kitchen countertop, it is worth to use a few bottles, which will be hung in a small distance one from another, thus creating a beautiful row of lights.
Of course, whiskey bottles are not the only ones that we can use when creating lamps from bottles. Their place can successfully replace the bottles of wine, beer or other liquors. It all depends on what shape and color of glass we are interested in. For that, you will need a piece of wood under which you can hide the wires. Apart from the mentioned wires, you will need
The first step, which is also the most difficult, is to prepare the bottles. It consists in cutting off their bottoms. How to do it?
After preparing the bottles, we need to create a base for the chandelier. In the ceiling, we drill holes at equal distances, through which we pass the wires. The holes should take the shape of an equilateral triangle. In the middle we screw in a hook, on which the chandelier will hang. Prepare three separate pieces of two-core cable with a length of 50 cm and mount to each of them bulb holders. Of course, the electrical installation should be carried out by a professional. Finally, all you need to do is put the wires through the bottle inlets and the holes in the base. After adjusting the height, use an upholstery stapler to block the wires at the bottle outlet.